
4. Menu, tables and waiters
Put your dishes in the app once. After that, billing is just tapping.
Your menu
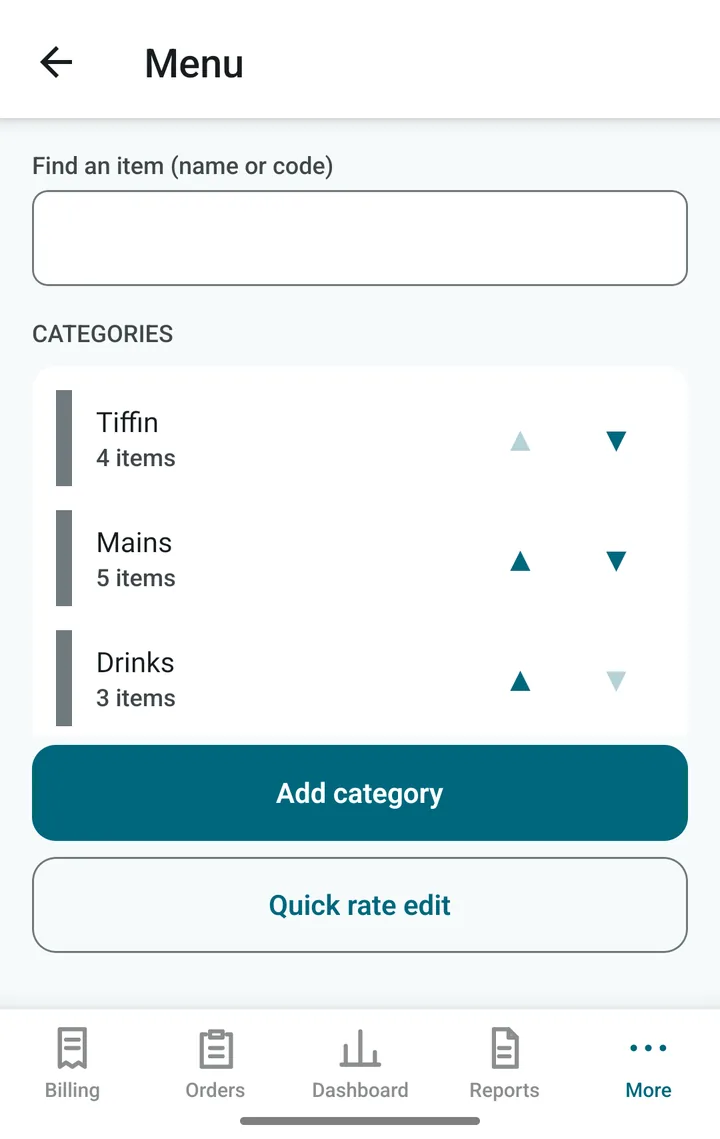
Open More › Menu. You see your categories, such as Tiffin, Mains and Drinks, with the number of items in each.
- Tap Add category and type a name.
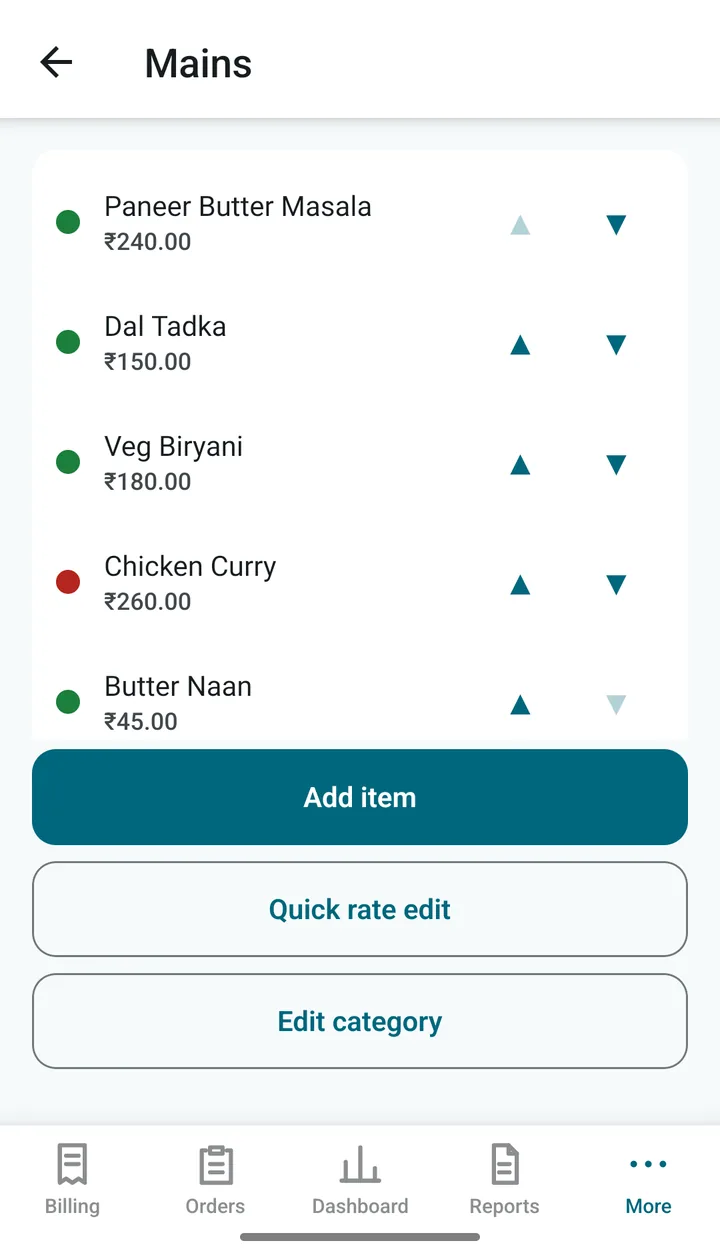
- Tap a category to open it. Tap Add item.
- Type the item name and the rate (price). Switch Vegetarian on for veg dishes. Change the GST rate (%) only if it is different from your default.
- Tap Save.
The little arrows move a category or item up or down. The order here is the order in Billing.
Handy extras
- Rates in the top bar (on the Menu and inside a category) shows all the prices in one column. Use it when prices change.
- Give an item a Quick code and you can find it in Billing by typing the code.
- Switch on Show under Favourites in billing and the item appears first, under Favourites.
- A long dish name can have a shorter Name on the printed bill (up to 20 letters).
- Switch Active off to hide a dish for a while, for example when it is not available today.
Add or change many items at once
Edit in a grid
Open More › Menu and tap Edit in grid. Your items appear in a table, like a spreadsheet. This is the quickest way to type a long menu or to fix many prices.
- Tap a cell and type. The next key on the keyboard moves across the row, and then down to the next row.
- Tap the chips at the top (Tiffin, Mains and so on) to see one category. All shows everything.
- Add row adds a new row. It starts in the same category as the row above. Tap the Category cell to choose another one, or to type a new category.
- A tinted cell is one you changed. A + after the row number is a new item.
- The tick in the On column switches an item on or off. Items are never deleted, so old bills stay correct.
When you are done, tap Review to see what will change, then Save. Nothing is saved until you tap Save. Changing a price asks for the owner PIN. If a row has a problem, for example no price, the review lists it and you fix it first.
Import from Excel or CSV
Already have your price list in Excel? Open More › Menu and tap Import in the top bar.
- Tap Choose file and pick your .xlsx or .csv file. (An old .xls file: open it in Excel and use Save As › Excel Workbook (.xlsx) first.)
- The first row should have headings. Only Name and Price are needed. Optional columns: Category, Code, GST %, Veg (Veg or Non-veg) and Print name. A plain two-column list of name and price with no headings also works.
- Read the preview: new items, price changes (old price → new price) and any rows with problems.
- Tap Import.
An item that is already in your menu (same Code, or else the same name) is updated, not added twice. Categories that do not exist yet are created. Changing prices asks for the owner PIN. Switched-off items are left as they are.
Get a template, or your menu as a file
On the same Import screen, under Standard file, choose Excel or CSV, then:
- Blank template gives you a file with all the headings and two sample rows. Delete the samples before you import.
- Current menu gives you all your active items. Edit them in Excel, then import the file back to update your prices.
Tables
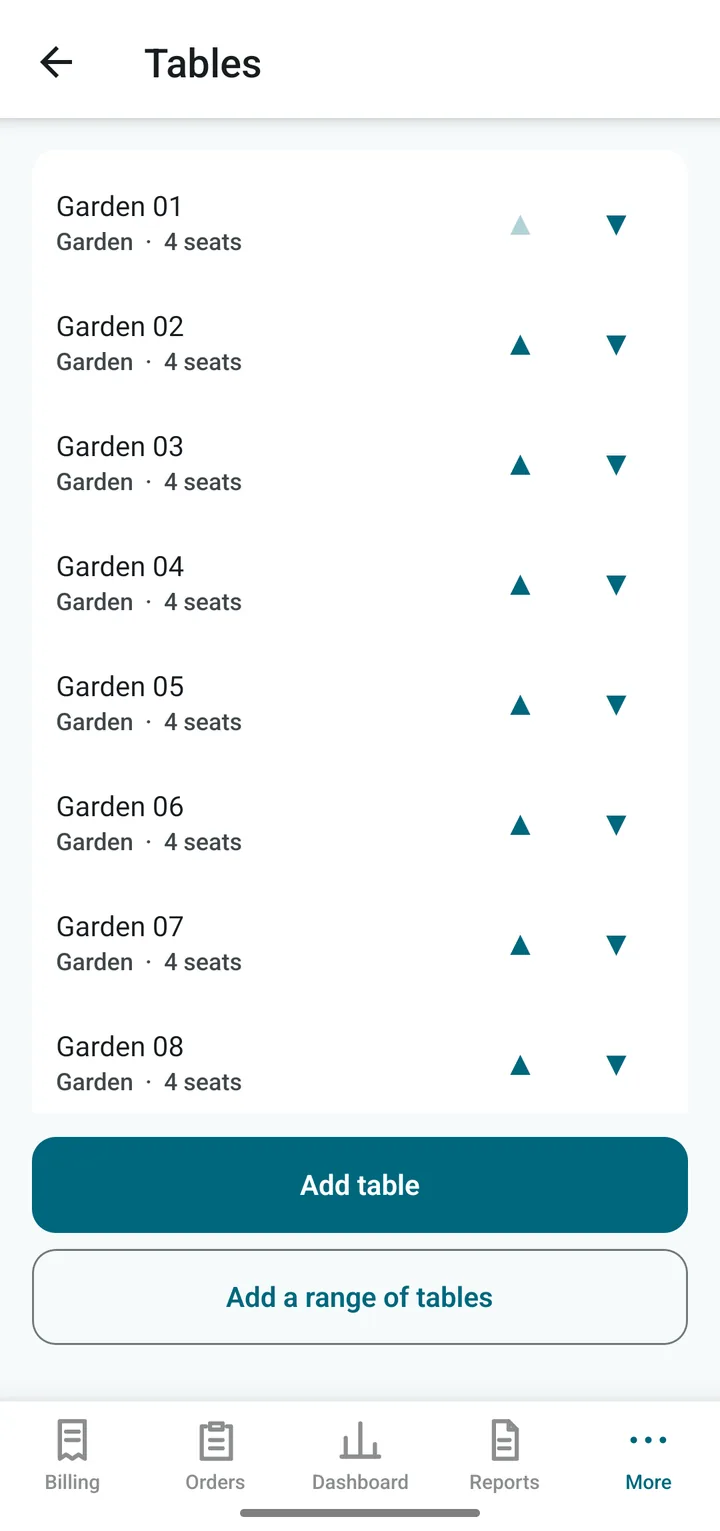
Only needed if you serve at tables. Open More › Tables.
- Add table adds one table (name and number of seats).
- Range in the top bar adds many tables at once. For example, “Garden 01 to 10”.
- Tables are grouped in sections, such as Garden or AC Hall.
Waiters
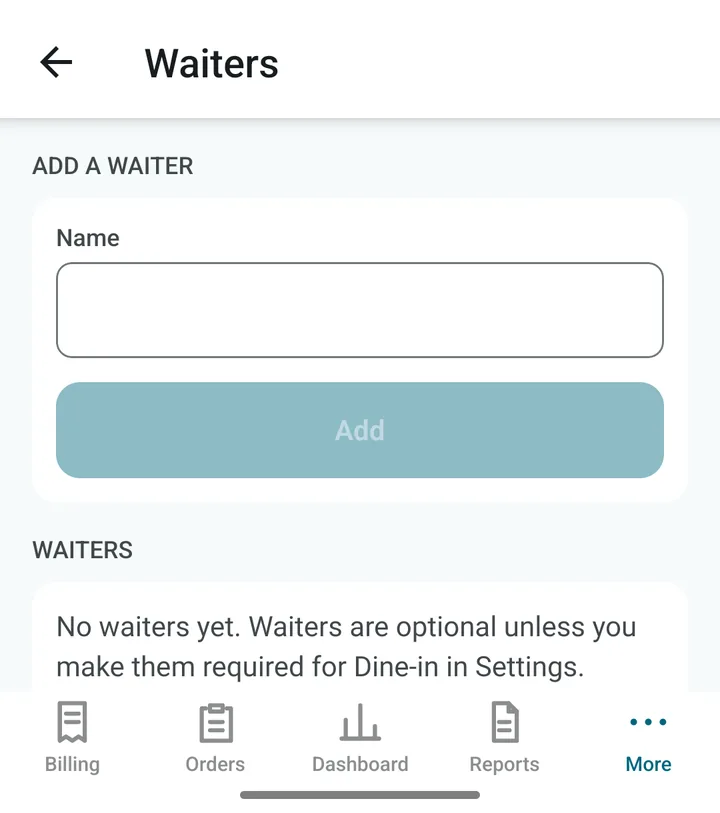
Open More › Waiters, type a name, tap Add. Waiters are optional. You can make them required for Dine-in in Settings, and the app will then ask for a waiter before an order can be held or billed.
Next: Making a bill